Step 1: Prepare your Carpet for Deep Cleaning
Before cleaning, vacuum the area thoroughly. Generously spray any special problem areas (old or dark stains; high traffic areas, pet stains) with a Rug Doctor or Rug Doctor by BISSELL Pre-treat formula.
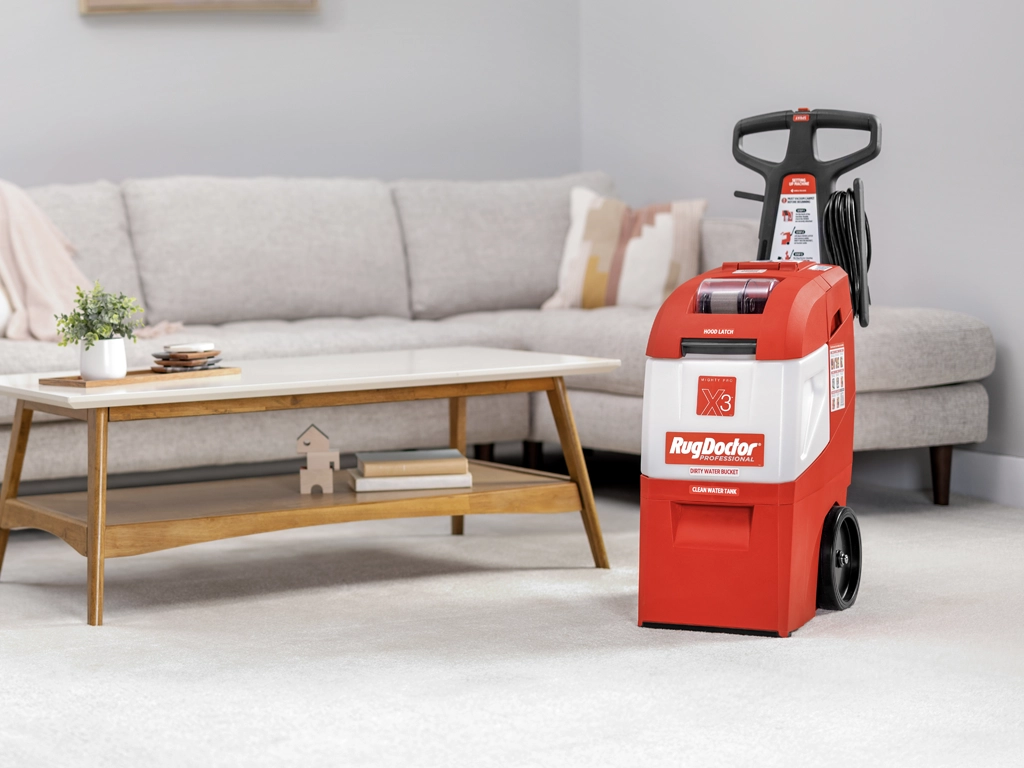
Step 2: Prepare the Machine
Mix 4 oz (1/2 cup) of Rug Doctor or Rug Doctor by BISSELL cleaning solution per gallon of hot tap water in a clean bucket. Lower retaining wire, lift dome and remove the white dirty water tank. Pour water and cleaning solution from bucket through the filter screen into the clean water tank until solution covers the filter screen halfway. Replace the dirty water tank and snap the dome down. Check the gray hose connector and copper coupler on the back of the machine to ensure both are firmly seated together
Step 3: Deep Clean your Carpet
Plug the carpet cleaner rental machine into an outlet. Adjust the handle using the lever on the right side. Tilt machine back and roll forward to starting point. Press power button on back of machine to “ON”, toggle switch on top of machine to “CARPET”. Press and hold spray button and pull back slowly. Release spray button and pull back 6 more inches. Tilt back machine and roll forward to next starting position. Repeat passes if needed depending on the carpet soiling. Continue cleaning until clean water tank is empty or you are done.